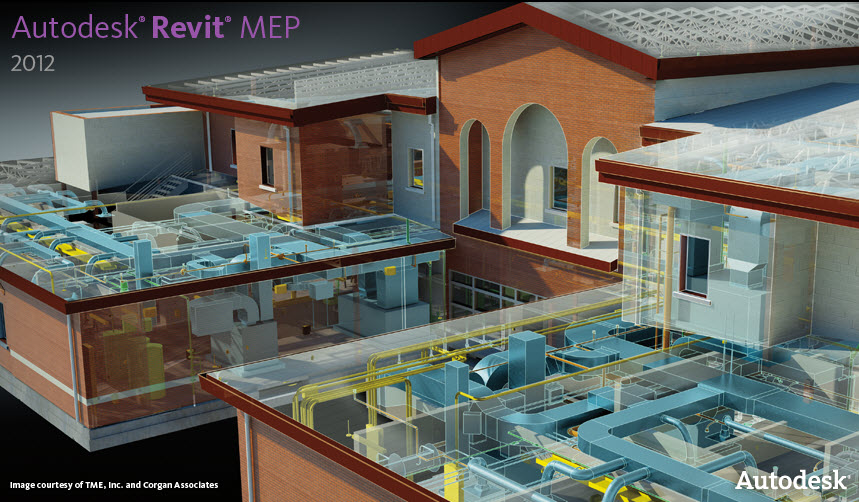
With any software program, different users use it in different ways. All of the methods and documentation has always been gears towards architects and how they should use the software. But what about the engineers? They use a different workflow than architects. Is the software capable of performing tasks much easier than documented for engineers?
When engineers get the architectural background in a Revit project format, how can you, and how should you create a new MEP project based off of the architectural views for that particular project? Every project is unique, and requires new views to be created. Architects start their projects using a project template, as should engineers. But the same MEP views will need to be created based off of the various Architectural views and levels that the project requires. Why recreate all of that when it's already in a Revit project?
This blog describes a method where you can have the best of both worlds. You can use the architects project to create the MEP views the project requires rather than creating all of those views a second time yourself as the engineer. Then you can transfer your MEP project standards such as family types, line weights, materials, view templates and object styles into your project.
- Open the Architects model. Switch to the Default 3D view and erase all of the elements, switch to a few of the floor plan views to confirm all elements have been deleted.
- Use the Purge Unused (FILE->Purge Unused) command to remove all of the Architects “stuff” that is no longer needed.
- Use the Transfer Project Standards command to transfer the Family Types, line weights, materials, View Templates, Filters, and object styles and any other settings that you have changed in the template.
- Switch to a floor plan view and from the File pulldown and pick Import/Link ->Revit. Browse to the Architects model and link it in. Make sure to use Origin-to-Origin as the Positioning setting.
- Select the views that you would like to use for your MEP plans and go to the view properties and modify what view template you want to apply to that view. Or you can use the Apply View Template command from the Right-click menu. This will apply your MEP view template that view.
- With the views still selected, Right-click again and select Properties. Change the Discipline catagory to whatever discipline you want that view to apply to, and also set the Sub-Discipline.
- You can copy those views and apply other discipline view templates and descipline catagories to them if you are a multi-discipline MEP firm.
- Switch to a Floor Plan, and here you can turn off unwanted elements such as furniture. Type VG to start the visibility graphics. You can also control the elements in the Architects Model separately from the elements in your model by going to the Revit Links tab. One example for doing this would be to turn off the Architects plumbing fixtures after placing your Revit MEP fixtures that have connectors on them.
- Use the Monitor option from the Copy/Monitor design panel and select the levels to copy from the Architects linked file to your MEP file.
- Repeat this step for each of the levels, pick Finish mode when all of the levels have been selected.
- Select the button under Display Settings, and choose Custom. Under the Basics tab change the Linked view: to a view in the Architects model that looks the way you want. Then switch to the Model Categories set the Model Categories to Custom and turn off elements you do not want to see.
Now you have the start of your MEP project. You can now begin to lay out your equipment and create your systems. When the architect sends you a new background and you replace the old version with the new version, your project link will update the background. You can then use the Coordination Review tool from the Tools Pulldown menu to see what changes were made. If new levels or views were created, you will need to create new MEP views to display those changes.
In any design software program, that are multiple ways to get similar tasks completed. This is just one way that you can start a project in Revit MEP.

Great article Thanks! Hope all is going well.
ReplyDeleteAre there any changes to starting a project in Revit MEP 2009 vs how you did it in 2008?
ReplyDeleteIs there a better way to Start a MEP project that would allow using a project template and make it easy to create the same MEP views based off of the various Architectural views and levels that the project requires?