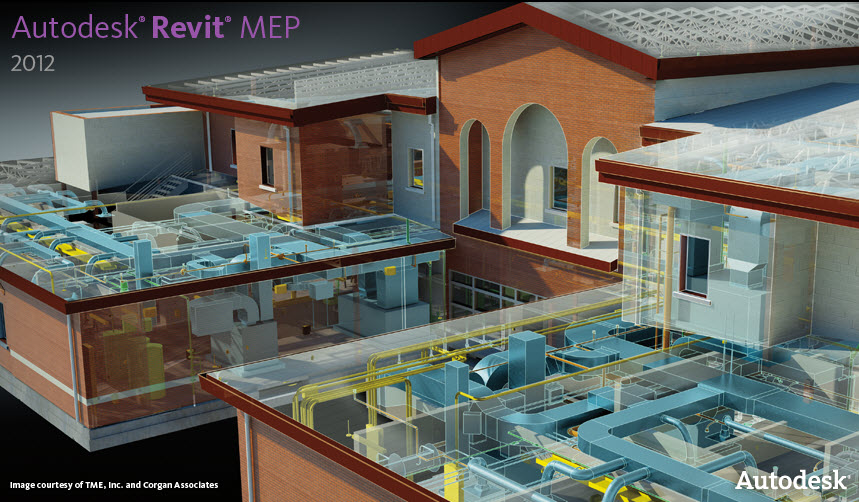
Create 3D Prints of your Revit 2009 models. As architects and engineers start their digital designs earlier and keep them digital for longer, they want a way to still physically interact with their designs. With the economical availability of 3D printers this has become possible. 3D printed models increasingly serve as a critical part of the design process to study design options and improve communication between project members and owners. The STL Exporter for the Revit 2009 family of products is a proof of concept project that we are working on. It is designed to take a 3D Revit building information model and create an STL file that can be used for 3D Printing. We invite you to take it for a spin and see what you think. We look forward to hearing your feedback.
To Get Started
- Download the ZIP package that cantinas the installer, installation and user instructions, and a feedback form from Autodesk Labs.
- Unzip the downloaded ZIP file.
- Follow the Read Me file to install the STL Exporter.
- The next time you open Revit 2009 you will see a new option called Export STL under the Tools::External Tools menu.
To Use It
- Load a model and select a 3D view that you want to use as the bases for your print.
- Using the instructions in the Read Me file set up your 3D view in the one of the Revit 2009 family of products.
- Export the model using the command under the Tools::External Tools menu.
- Make any required changes to the STL file using an STL viewer.
- Print the STL file using a 3D Printer.
- Enjoy the fruits of your labor!


No comments:
Post a Comment